HOLE ONE PAR 4
The 1st hole will test your skills right from the start. Your tee shot requires you to carry a bunker in the middle of the fairway. The putting surface is bisected by a large spine which can potentially challenge your depth perception.
HOLE TWO PAR 4
The 2nd is a par 4 with tee shots that should favor the left side of the fairway. The green is large and slopes from back to front with a large spine in the center. Beware of the false front on the right side of the green which will feed short shots off of the green and into the rough.
HOLE THREE PAR 3
The 3rd hole is a par 3 that provides sweeping views of the Bay. A left to right shot from the tee is preferred as the green runs diagonally to your right with a green that has three different sections divided by large slopes.
HOLE FOUR
PAR 5
The 4th is an uphill par 5 that plays more difficult than the yardage suggests. Off the tee, aim for the bottleneck in the fairway to avoid bunkers lining the left and right sides. The green is guarded by a large bunker on the left and deep rough on the right.
HOLE FIVE
PAR 4
The 5th is a tempting short par 4 offering a true risk, reward situation. If you go for the green from the tee, aim just right of the tall oak tree. One of the most challenging greens on the course, the 5th has a large bowl in the middle and run-offs on the back, right, and front.
HOLE SIX
PAR 5
The 6th is the #1 handicap and is a challenging par 5. From the tee, you must carry a large barranca to a fairway that is laid out diagonally to your right. For your second shot, you are faced with making the decision to lay up or attempt to carry the second elevated barranca.
HOLE SEVEN
PAR 3
The 7th is a fun uphill par 3 that plays to a green where you cannot see the ball land. The green is sloped back to front. Add extra yardage on top of the pin location and slope as balls tend to feed towards the front after landing. If the pin is located in the back right of the green, beware as the green is only 5 to 10 paces deep and has large bunkers in front and behind the pin.
HOLE EIGHT
PAR 4
The 8th provides an intimidating tee shot with three bunkers that can be in play and one located in the middle of the fairway. Precise yardage on your approach is crucial as the green has an upper shelf and a lower shelf that favors breaking towards the Bay.
HOLE NINE
PAR 4
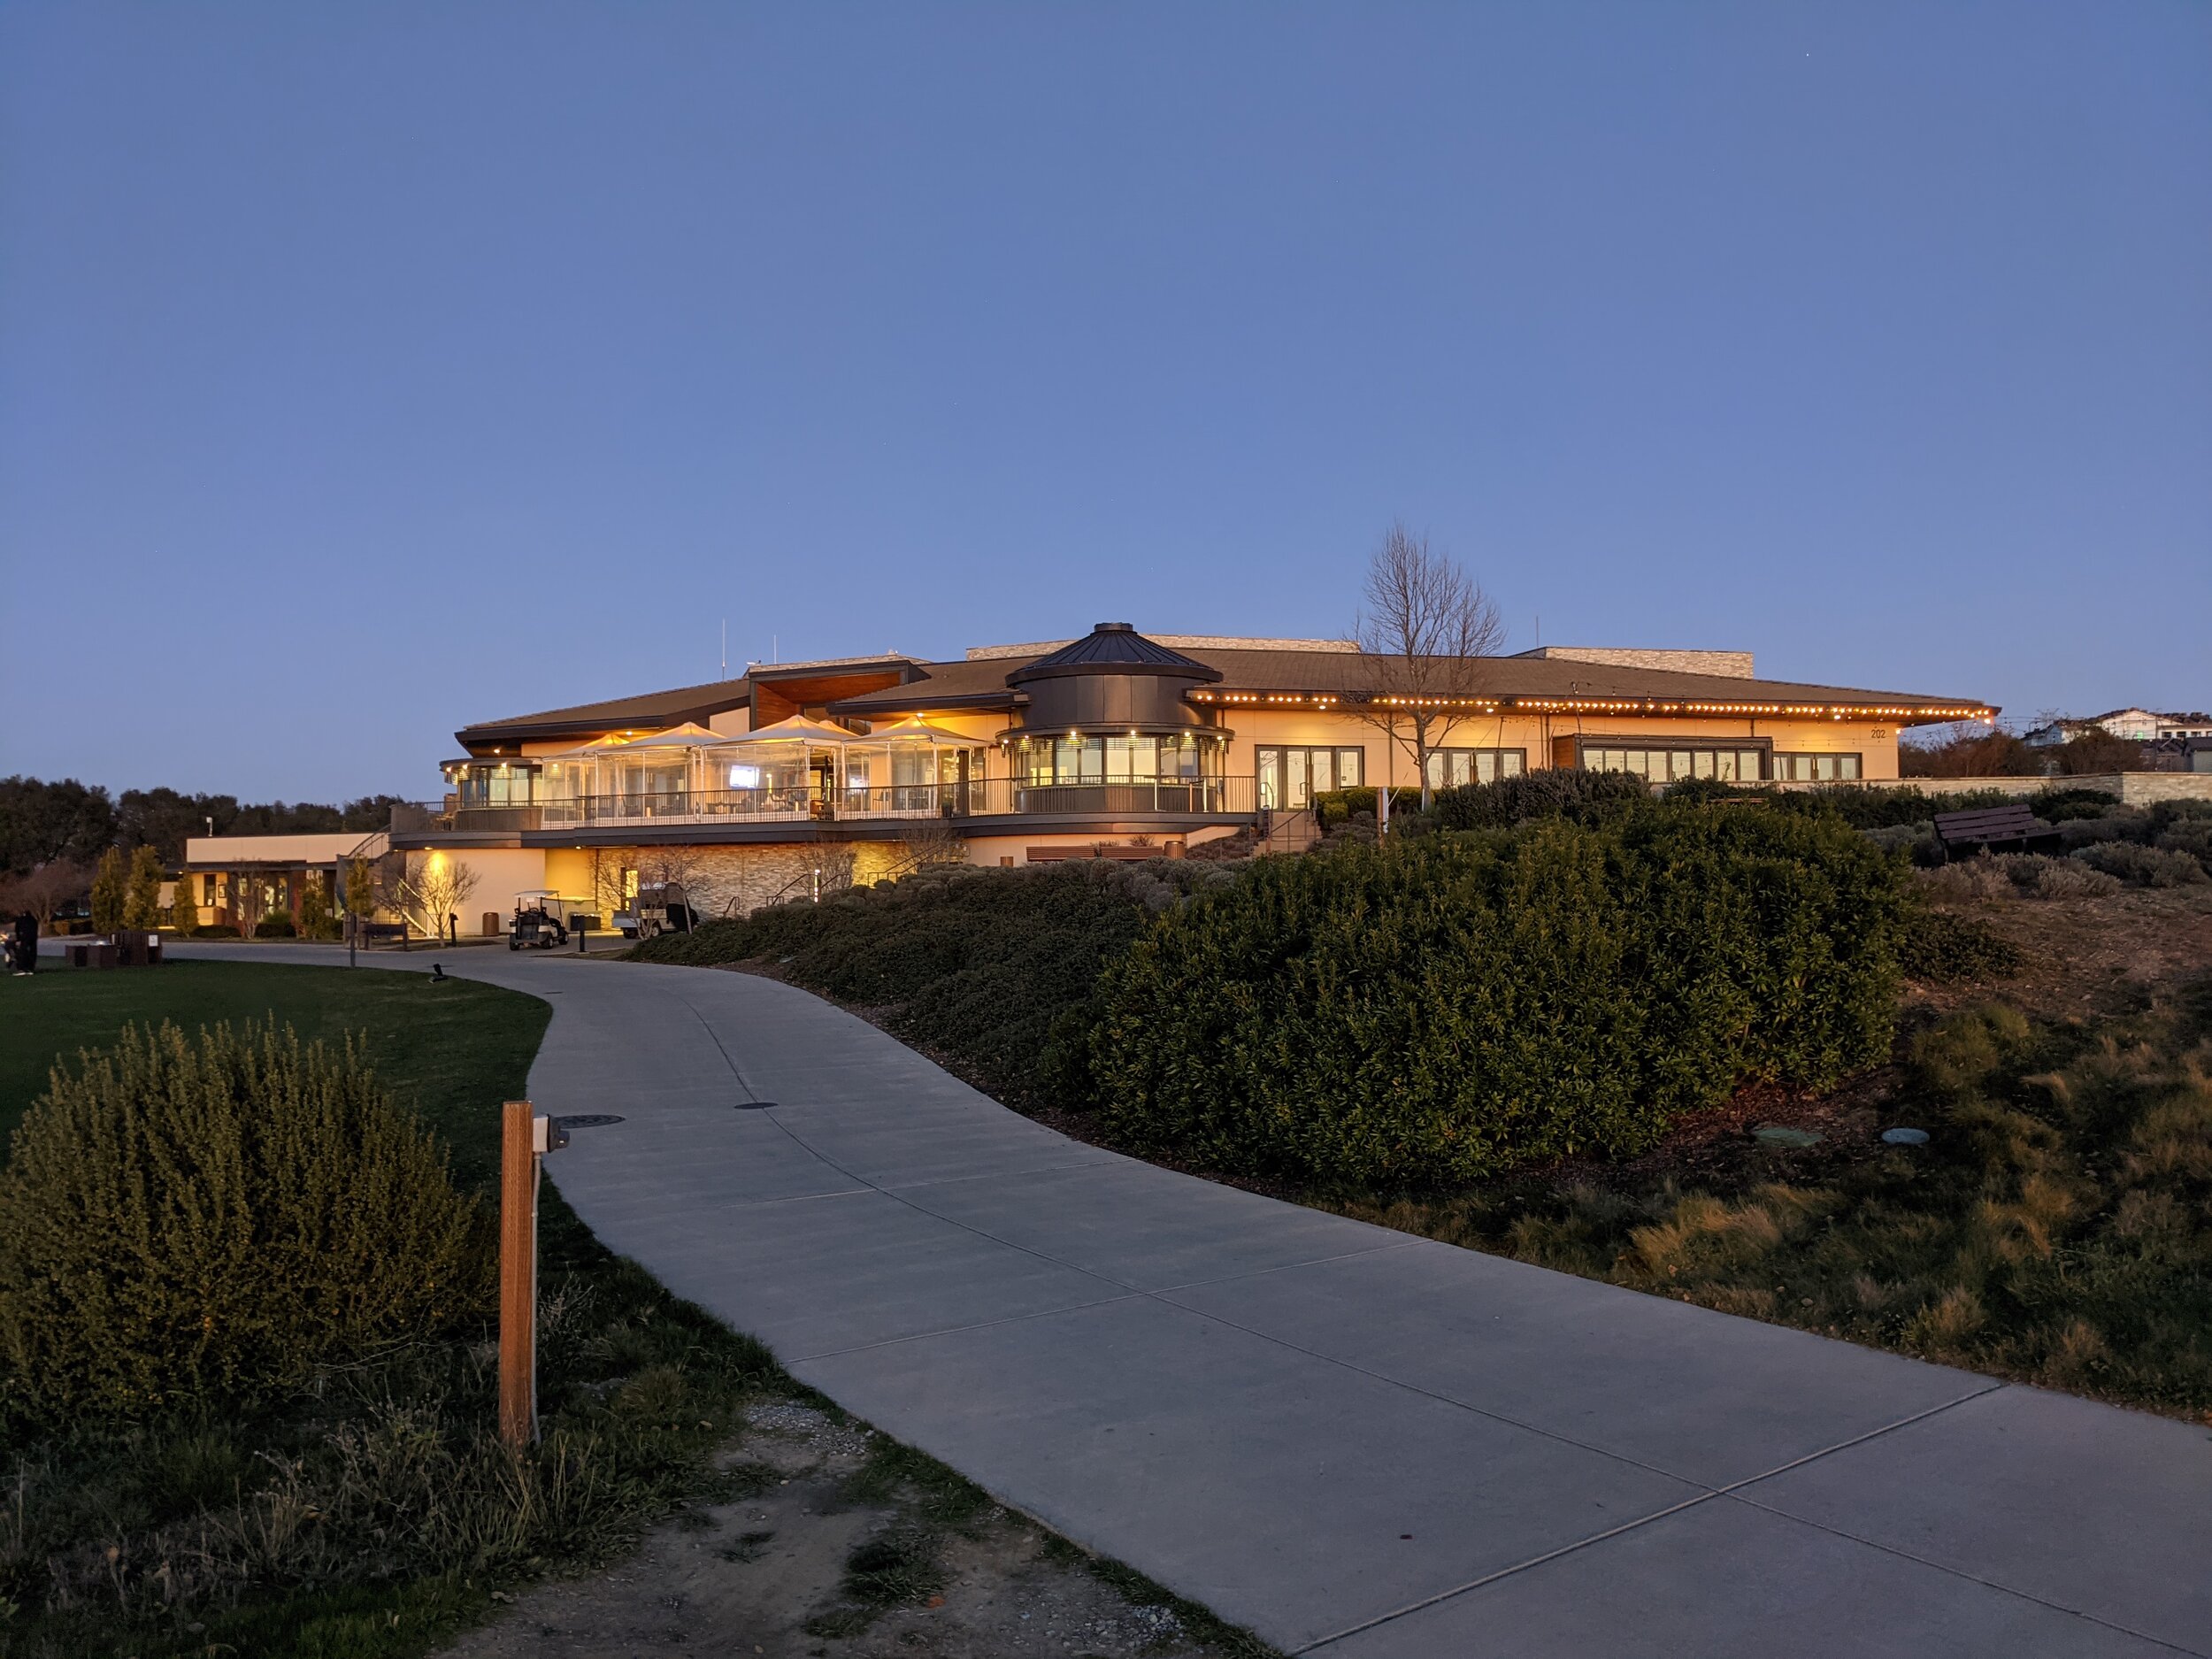
The 9th is an uphill par 4 running back to the clubhouse. Favor the left side to avoid the fairway bunker on the right and to allow for tee shots to feed down to the right. When setting up your approach, favor the left side as shots will kick off the slope surrounding the green and feed toward the center.
HOLE TEN
PAR 4
The 10th begins with a breathtaking tee shot with the San Francisco Bay as the backdrop. The proper line is over the center of the left bunker as the fairway extends much further to the left than it appears. Distance control is key to the approach shot as this green is on a mound of its own and surrounded by bunkers on the left and steep runoffs on the back and the right of the green.
HOLE ELEVEN
PAR 3
The 11th is the most challenging par 3. The long narrow bunker in front of the green will come into play if the pin is in the middle or left-hand side of the green. The green feeds left towards the Bay and has a sharp ridge bisecting the middle of the green.
HOLE TWELVE
PAR 5
The 12th is one of the most exciting holes on the course. With a blind tee shot, the best line is the right bunker on the fairway of hole #11. From the fairway, longer hitters may opt to take advantage of the large elevation drop to the green. If laying up, aim to the left “tongue” and you will have 130 to 160-yards to the green depending on the pin. The 12th is the deepest green on the course and has the most undulation.
HOLE THIRTEEN
PAR 3
The 13th is the shortest hole on the course surrounded by trees and is a great opportunity to make up ground before embarking on the finishing stretch of holes. Three different sections on the green make club selection critical. Each section of the green is on a different level and having to putt from one section to another can make for a difficult two-putt.
HOLE FOURTEEN
PAR 4
Don’t be fooled by the short measurements here as the par 4 14th plays significantly uphill. Tee shots must travel over a deep valley to a skinny fairway that is positioned at a diagonal angle to the left. Any tee shot short of the fairway or over the fairway is out of bounds. The second shot will require at least one extra club and beware of the large false front in the middle and right that sends short shots trickling off the green.
HOLE FIFTEEN
PAR 3
The 15th is a par 3 with a green divided into two tiers, one right and one left. If the hole is cut on the upper right, use the slope on the right to feed your shot towards the pin. When it is cut on the left, play your shot off the spine in the middle to feed it towards the hole.
HOLE SIXTEEN
PAR 5
The yardage suggests the 16th is an easy par 5, but don’t be fooled! Favor the left side of the fairway as it slopes right. A solid tee shot may leave you thinking this green is reachable in two, but it’s a tough blind shot to a wide but shallow elevated green. A deep front bunker guards the green and an approach shot at a middle or right pin must be hit with precise yardage or you will find yourself with a tough pitch back to the pin.
HOLE SEVENTEEN
PAR 4
One of the most challenging holes, the 17th features a dogleg left tee shot to a blind downhill fairway. The safe tee shot is to the center or right side of the fairway which leaves you with 180-200+ yards downhill to a green with little margin for error as there is a steep runoff in the fescue on both the right and left of this green.
HOLE EIGHTEEN
PAR 5
The finishing hole is a par 5 that can make or break a match coming in as the #2 handicap. Favor your tee shot to the right side of the fairway. Your second shot will leave you faced with the decision to lay up short of the barranca or attempt to clear it. Laying up will leave you with 200+ to the green. Carrying the barranca will leave you with 100 to 150-yards to the green. Distance control is crucial as approach shots that go long will roll off the back of the green.
JOIN THE CLUB!

